Little Bighorn, Montana
On June 25 of 2012; I visited the Little Bighorn Battlefield of Montana.
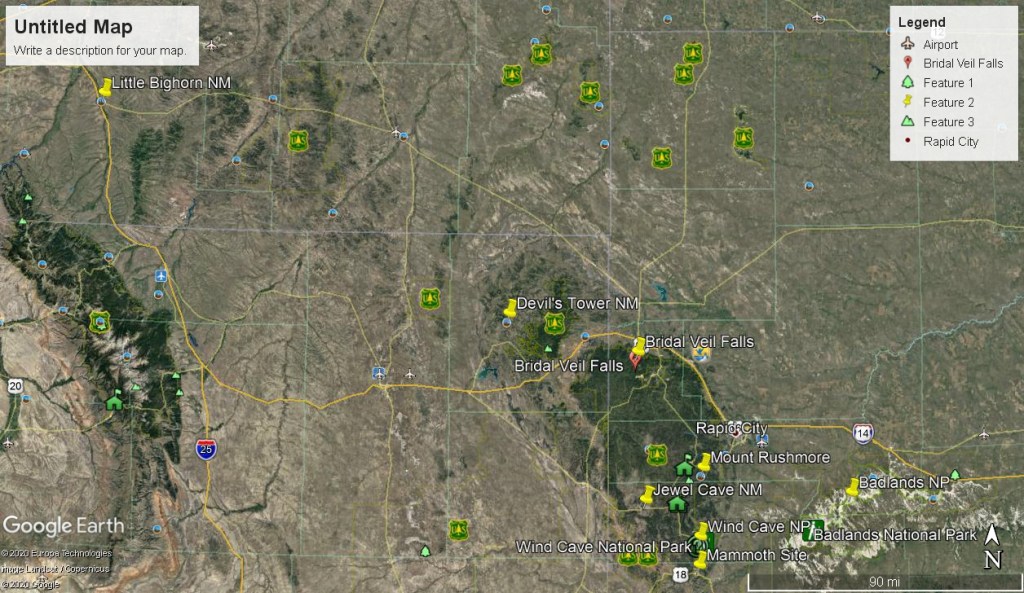
Located in southeastern Montana, Little Bighorn Battlefield National Monument memorializes the site of the Battle of the Little Bighorn which took place on June 25-26, 1876 between the United States Seventh Cavalry Regiment led by Lt. Col. George Armstrong Custer, and the Sioux and Cheyenne under the political and spiritual leadership of Sitting Bull. I had decided to visit on the 136th anniversary date.

The visitor center and museum contained exhibits relating to the 1876 Battle of Little Bighorn in which a total of 263 US Cavalrymen, of the regiments 650 men, were killed in action by Sioux and Northern Cheyenne warriors. Lieutenant Colonel G.A. Custer was killed leading a contingent of 209 men.
The Museum featured exhibits of the history of the battle, Custer, weapons, archaeology, Plains Indian life, and a walking tour with interpretive markers.
One of the causes of the defeat of the 7th Cavalry and its 600 men was General Custer’s underestimation of Indian forces (approximately 2,000 warriors), and his decision to split his troops into three battalions. He retained five companies under his immediate command and assigned three companies each to Maj. Marcus A Reno and Capt. Frederick W. Benteen. A twelfth was assigned to guard the slow-moving pack train.
On June 25, 1875, approximately 7,000 Lakota, Cheyenne, and Arapaho, including 1,500-2,000 warriors, encamped below on the Greasy Grass River (Little Bighorn). Under the political and spiritual leadership of Tatanka-Iyotanka (Sitting Bull), refused to be restricted to their reservation and sought to follow their traditional nomadic way of life.
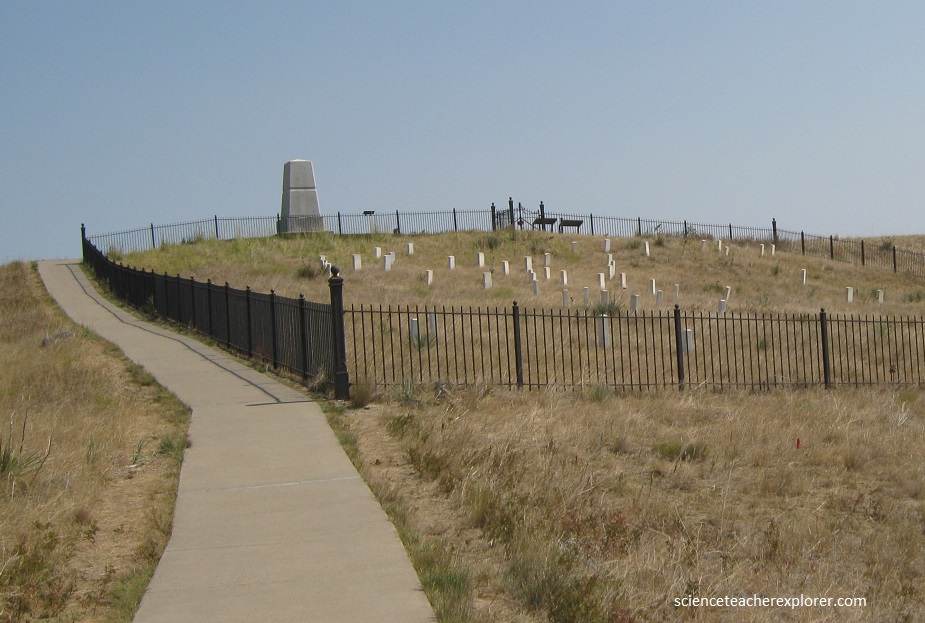
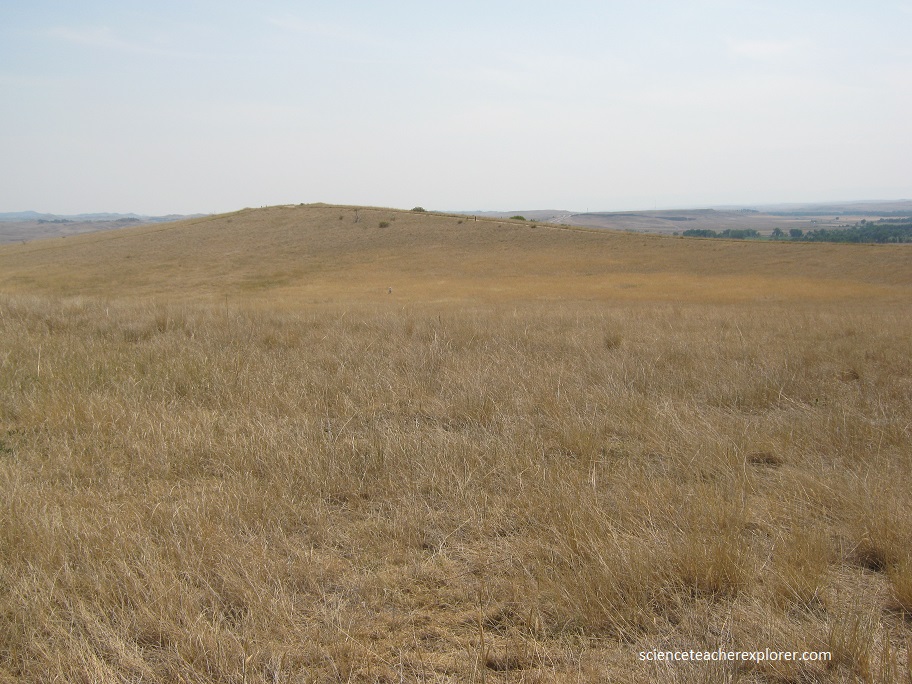
Pictured above, a white granite memorial at the top of the hill contains the remains of nearly 250 U.S. Cavalrymen who died throughout the battlefield. The site of a related military action led by Marcus Reno and Frederick Benteen is also part of the national monument, but is about 5 km southeast of the Little Bighorn battlefield.
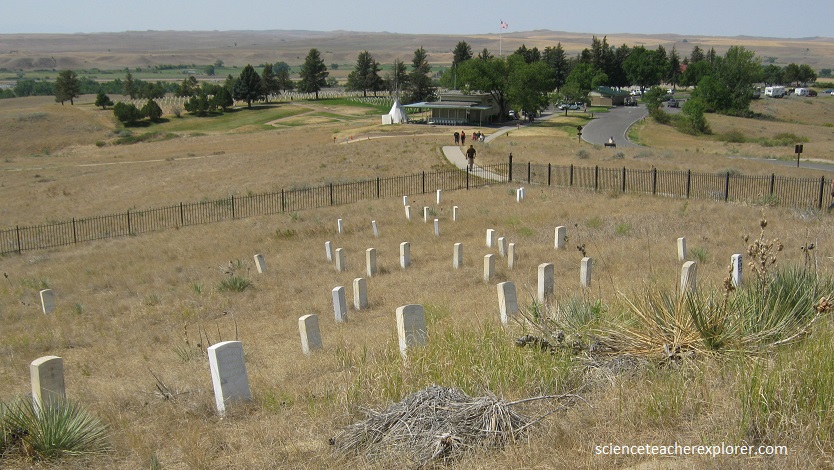
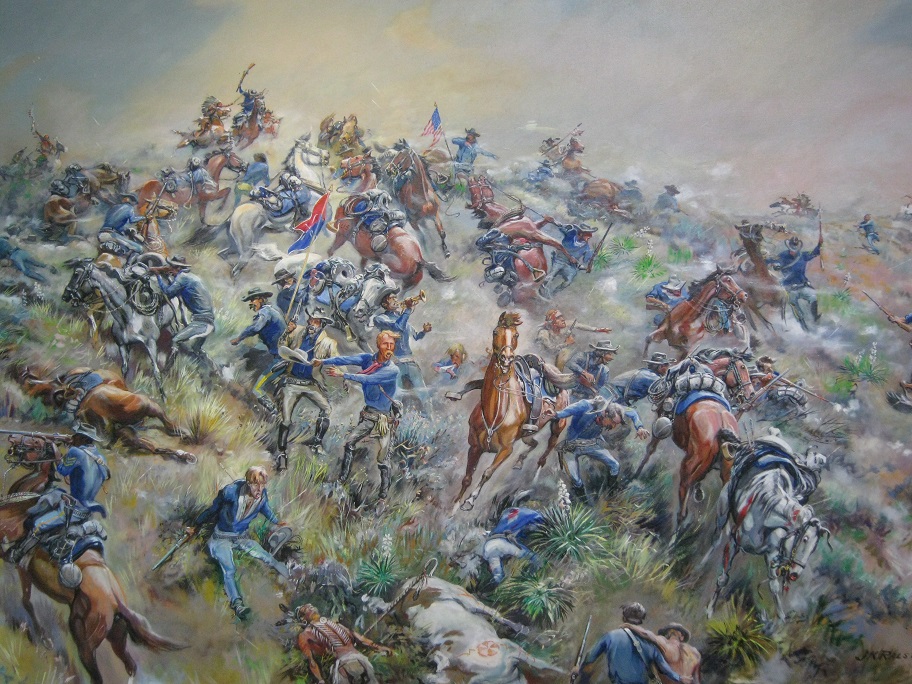
Cut off from his supplies and nearly two-thirds of his regiment, Custer realized his underestimation of native forces. Now surrounded by hundreds of warriors, Custer and his last 40 remaining cavalrymen shot their horses and arranged their carcasses in a defensive perimeter. Approximately 10 men, including Custer, his brother Tom, and Lt. William Cooke, were found in the vicinity of the present 7th Cavalry memorial. Other soldiers were found with the enclosure area below the knoll.
The battle here is thought to have lasted about an hour. They fired several coordinated rifle volleys–a signal of their need for reinforcements. After exhausting their supply of rifle ammunition under a constant and withering attack, Custer’s dwindling forces pulled their service revolvers and fought at close quarters for their lives.
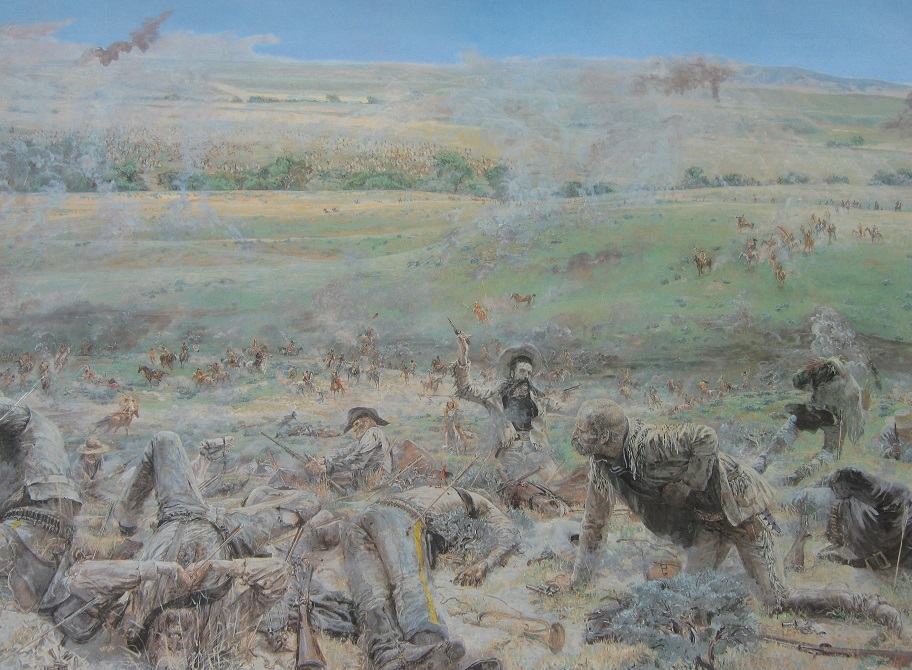
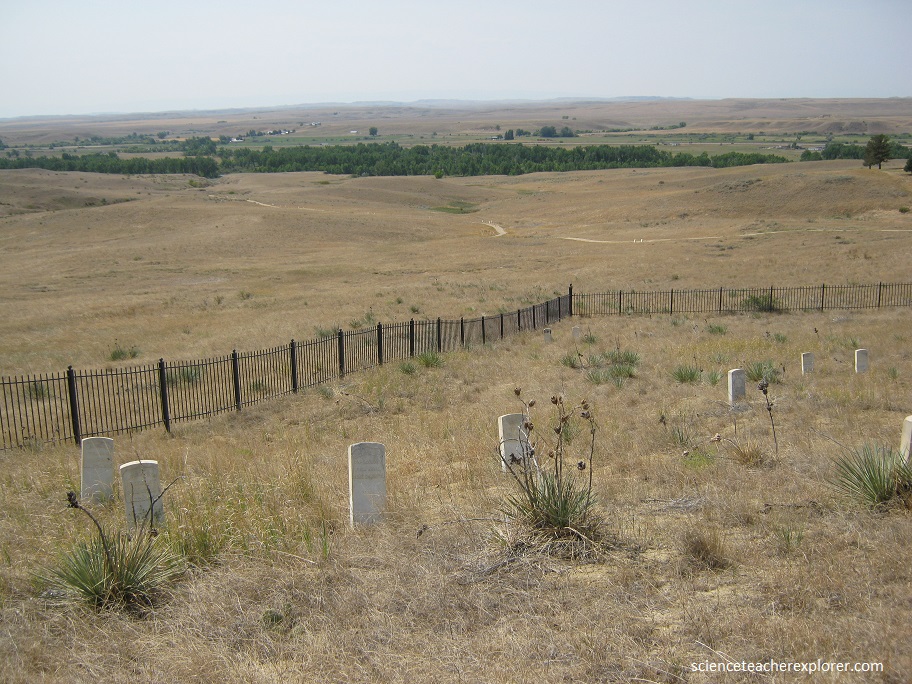
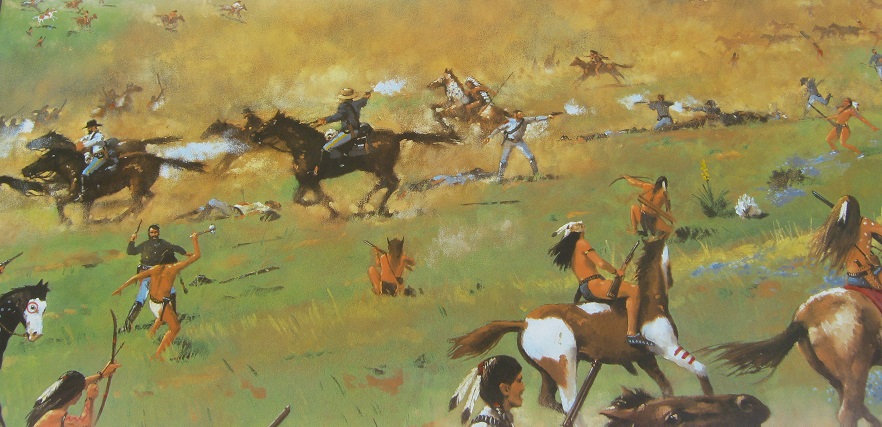
After marching 24 km from the first sighting of the Indian encampment at daybreak, Major Marcus Reno, second in command, received orders from Custer to start the attack from the south at around 3pm. He led a charge of 150 mounted soldiers into the Indian settlement, (pictured below).
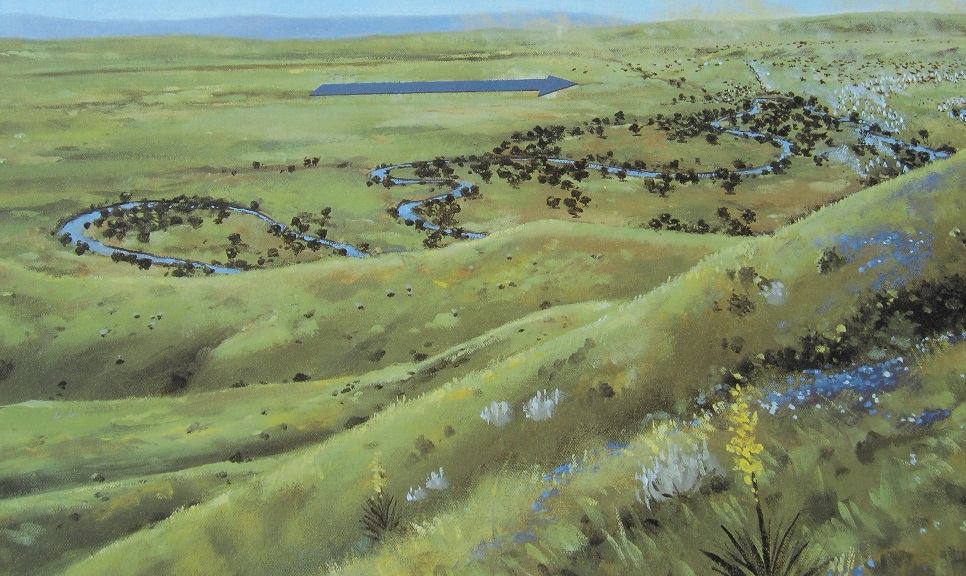
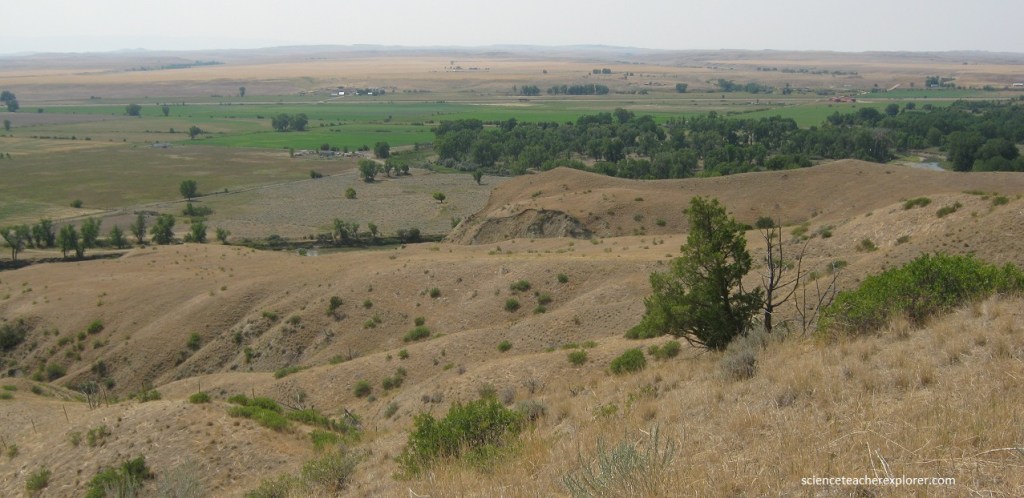
After fording the Little Bighorn River 0.8 km to the image found above, Reno’s battalion gallops down the valley below. Convinced he is vastly outnumbered, Reno dismounts, and forms a skirmish line across the valley floor, firing into the lodges. Warriors in great numbers rush forward to defend the village. Outflanked, Reno retreats into the timber. Reno’s retreat becomes a rout as pursuing warriors ride in among the troopers, killing about 40 soldiers total as they attempt to reach the safety of the bluffs beyond the Little Bighorn River. Warrior casualties were few. Sitting Bull directs surprised noncombatants to flee to the north and west.
Captain Frederick Benteen was assigned a similar number of troops and ordered to loop around to the west to prevent an native escape. Custer and his forces numbering 210 men, galloped north along the high ground. The mule train carrying the soldiers’ supplies and ammunition lagged kilometers behind, a result of Custer’s haste to attack.
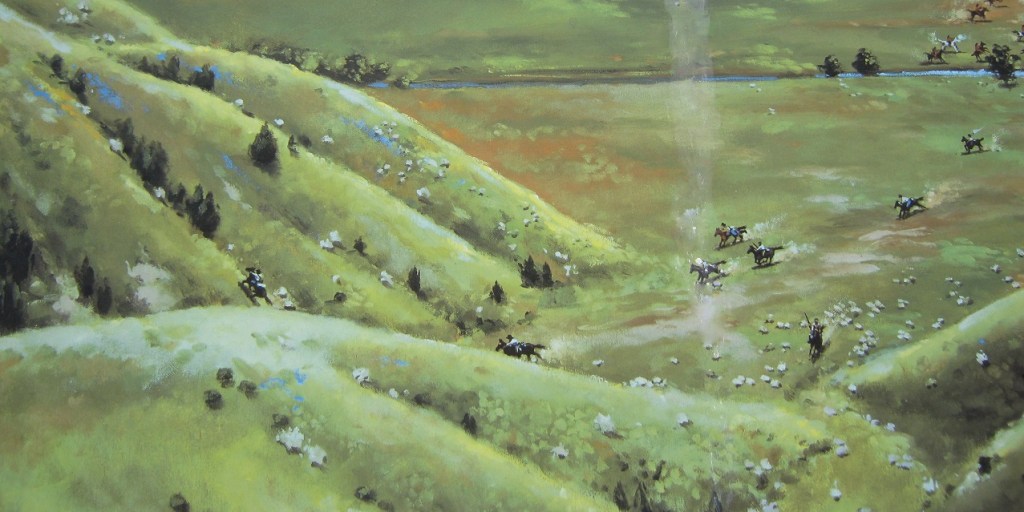
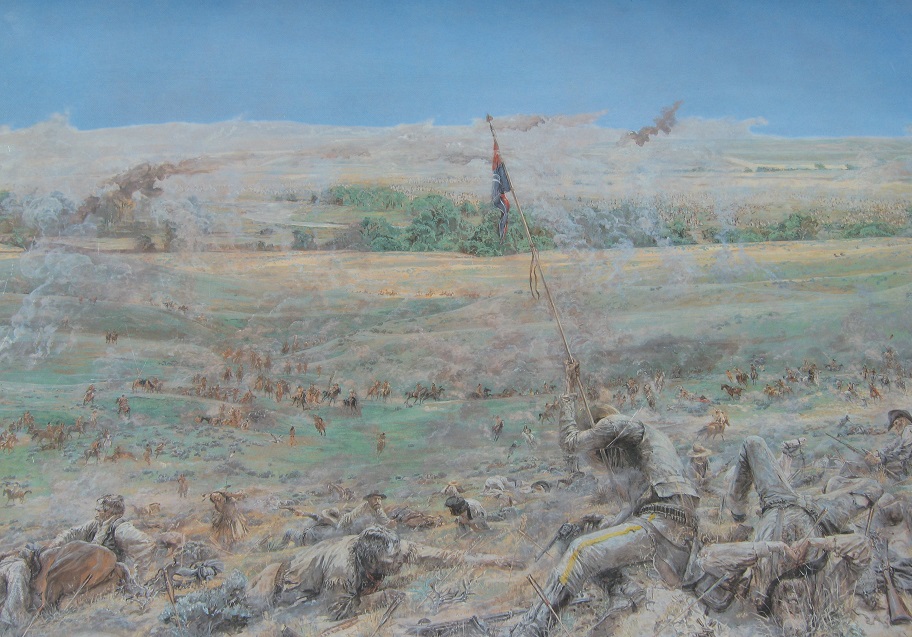
Under mounting pressure, Reno abandons the timber. After about 20 minutes of long-distance rifle warfare, hundreds of Lakota and Cheyenne warriors streamed out of the camp. They quickly overwhelmed the soldiers’ exposed flanks. Reno ordered a desperate retreat with his forces either taking cover in trees along the river, or fording the waterway and scampering up an exposed hill. Pictured above, his retreat disintegrates into a rout as pursuing warriors ride in amongst the troopers killing more than 30 additional soldiers. Again, indian casualties were few.
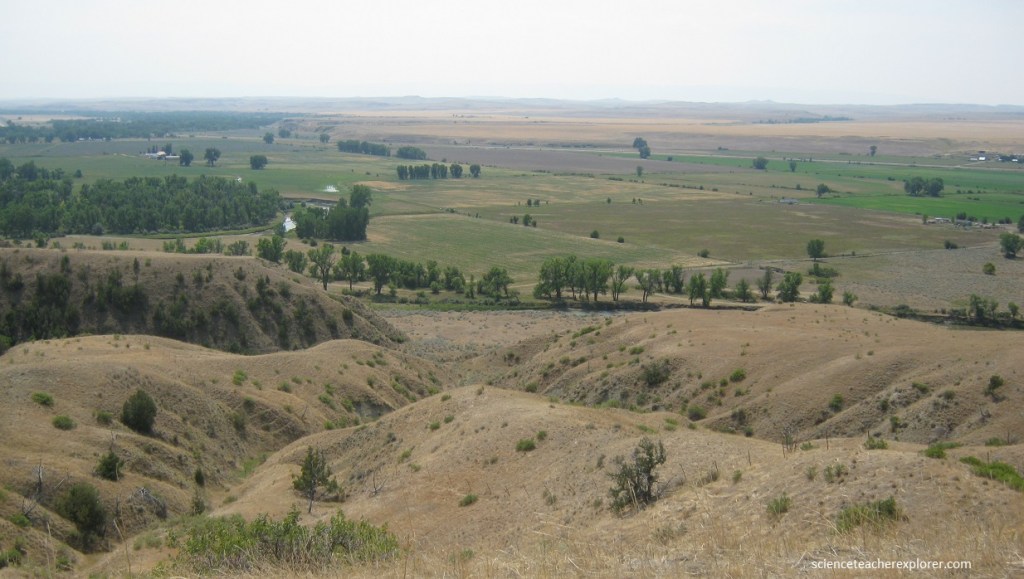
Lakotas and Cheyennes drive the cavalry across the river and up the steep bluffs to the left of the picture above. Eventually, Reno’s forces formed a circular, defensive perimeter at the top, (pictured below). If they had not been joined shortly thereafter by Benteen’s companies, the remains of Reno’s forces would likely have been killed immediately. However, they lasted for two days at this location.
Major Reno and Captain Benteen were aware of Custer’s needed support. However, they were too exhausted or unwilling to search out Custer’s whereabouts. Despite hearing the gunfire volleys to the north, they ordered the troops to maintain their defensive position on the hilltop.
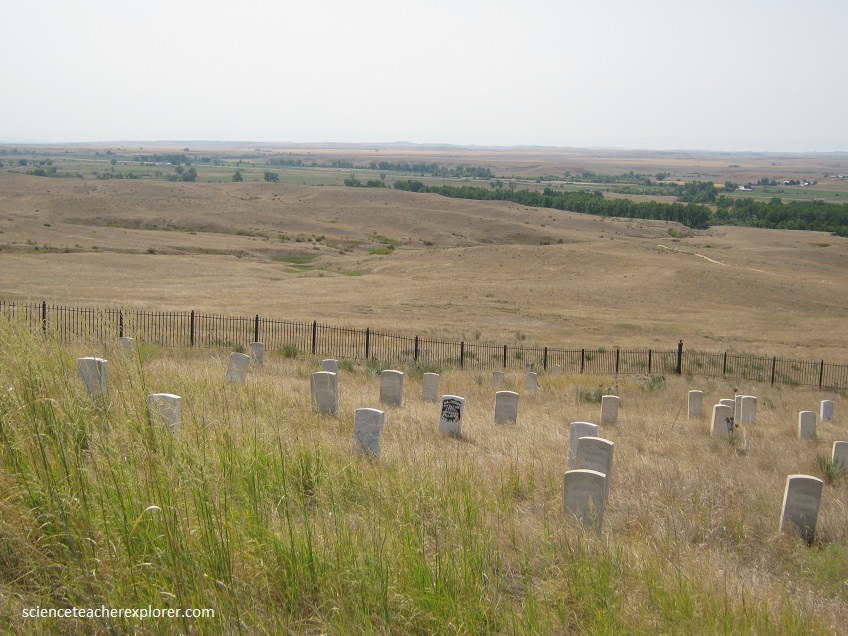
Something drew the Indians’ attention away from the hilltop battle. Custer was attempting an attack of the Indian camp from the northeast. A successful strategy that Custer had previously used was taking Indian women and children hostage and forcing the fighting men into surrender. After being beaten back at a river crossing into the village, a surprised Custer deployed some of his forces along the ridge. Indian warrior accounts indicate that soldiers from Company C charged into the coulee on you left to break up the massed warriors. Coming under heavy fire, they were forced back to the ridge, where most were killed. The grassy hillside was dotted with white granite memorials where soldiers from Captain Miles Keough and Sargent James Calhoun’s companies bravely fought and died. There were no signs of panic as the soldiers seemed to follow orders and maintain their positions. They were simply overwhelmed by greater forces.
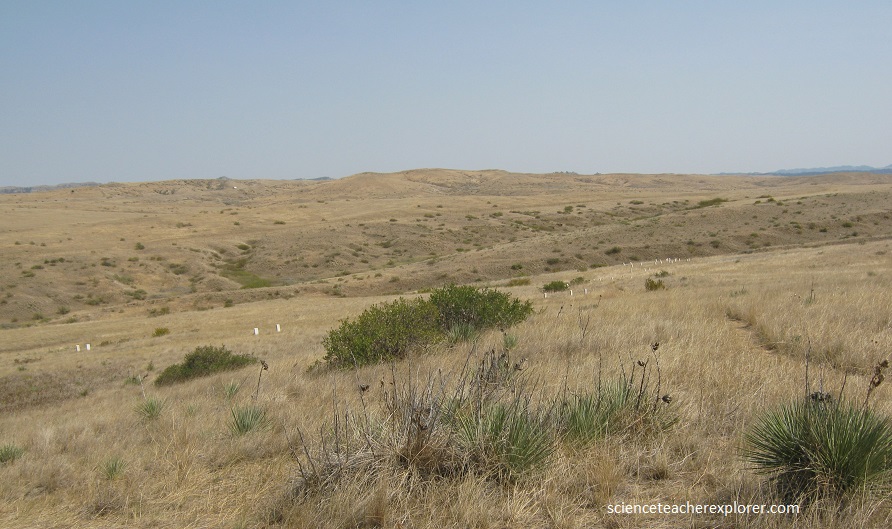
Pictured above, the Native charge shattered the Calhoun defense and crashes through the soldier position at right in the picture above, held by Capt. Myles Keogh’s company I. Crazy Horse and White Bull cut down the retreating soldiers who flee northwest along this ridge in an effort to join the remnants of Custer’s command on Last Stand Hill. Members of company C and L were also found here.
Picture above, after the brief encounter at the ford, two companies (E and F) withdraw up the ravine to the right. The other three companies skirmish with warriors on the high ridge 1 km to the south and soon reunite with the other two companies on Battle Ridge, (to the north).
Custer had ridden into history and legend. His precise movements after separating from Reno have never been determined, but vivid accounts of the battle by natives who participated in it tell how his command was surrounded and destroyed in fierce fighting. In the battle, the 7th Cavalry lost five companies (C, E, F, I, and L) under Custer, about 210 men. Of the other companies of the regiment, under Reno and Benteen, 53 men were killed and 52 wounded. The natives lost no more than 100 killed. They removed most of their dead from the battlefield when the large village broke up. The tribes and families scattered, some going north, some going south. Most of them returned to the reservations and surrendered in the next few years.
Little Bighorn Battlefield National Monument memorializes one of the last armed efforts of the Northern Plains Indians to preserve their ancestral way of life. Here in the valley of the Little Bighorn River on two hot June days in 1876, more than 260 soldiers and attached personnel of the U.S. Army met defeat and death at the hands of several thousand Lakota and Cheyenne warriors. Although the natives won the battle, they subsequently lost the war against the white man’s efforts to end their independent, nomadic way of life.
